A Guide to Building Your Perfect Perimeter
Installing a fence around your property can enhance privacy, security, and curb appeal. Whether you’re considering a wooden, vinyl, or metal fence, understanding the essential steps involved ensures a smooth process and long-lasting results. This guide will walk you through the critical stages of planning and execution, highlighting key considerations for each step.

Planning Your Project Thoroughly
Before starting any construction, it’s crucial to plan your project thoroughly. Consider why you need the fence; is it for privacy, security, or aesthetic purposes? Knowing the main purpose helps in selecting the right materials and design. Additionally, check local regulations that may dictate fence height, placement, and material restrictions. Understanding these factors upfront prevents costly mistakes and ensures compliance with local laws.
Choosing the Right Materials
Selecting the appropriate materials is vital for a successful installation. Materials like wood offer a classic look but require regular maintenance to prevent rot. Vinyl is low-maintenance but might not provide the same natural appearance as wood. Metal fences are durable but can be more expensive. Assessing these options allows you to balance aesthetics, durability, and cost for your specific needs.

Setting a Realistic Budget
Establishing a budget is essential to control costs throughout the project. Consider expenses such as materials, labor, permits, and unexpected costs that may arise during installation. By setting a realistic budget, you ensure you have enough resources allocated to complete the project without compromising quality or cutting corners.
Preparing the Site Effectively
Site preparation is a critical step in the fence installation process. It involves clearing obstacles like rocks and vegetation that could impede construction. Ensure the ground is level where the fence will be placed. Taking time to prepare the site properly facilitates easier installation and contributes to a stable, long-lasting structure.
Fence Installation Techniques
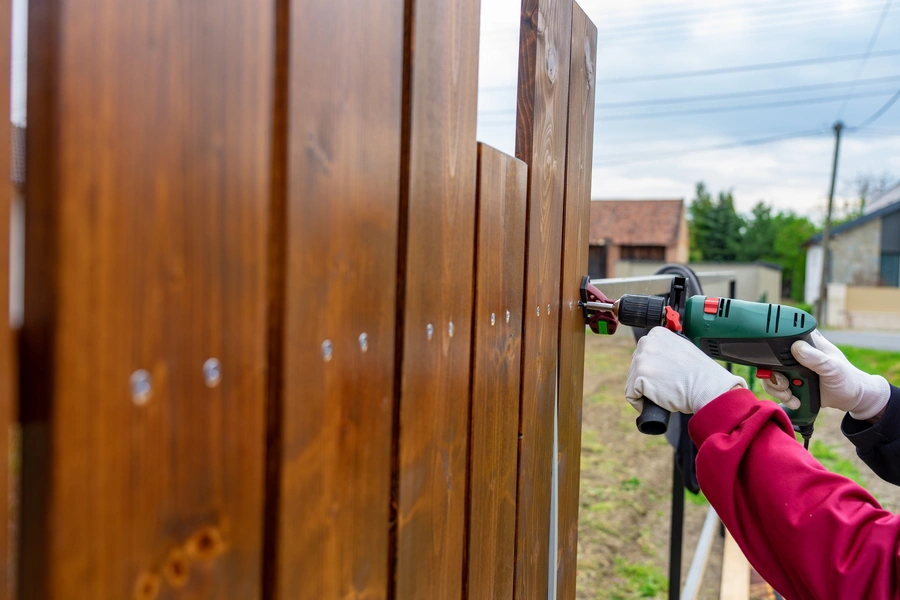
The actual construction phase includes several technical steps. First, mark out the perimeter using stakes and string to visualize the layout. Then dig holes for posts at consistent intervals, ensuring they are deep enough for stability. Insert posts and fill holes with concrete for added support. Finally, attach rails and panels according to your chosen style and material type.
- Mark the perimeter with stakes
- Dig post holes at regular intervals
- Secure posts with concrete
- Attach rails and panels carefully
Troubleshooting Common Issues
During fence installation, you may encounter issues such as uneven terrain or rocky soil. To overcome these challenges, adjust post heights accordingly or use specialized tools to break through tough ground. If your fence requires additional stability on sloped areas, consider using longer posts or adding more supports to maintain integrity.
Maintenance Tips for Longevity
To ensure your new fence lasts for years, regular maintenance is key. For wooden fences, apply sealants annually to protect against moisture damage. Vinyl and metal fences should be cleaned periodically to remove dirt buildup and prevent rust or discoloration. Consistent upkeep not only preserves appearance but also extends the lifespan of your investment.
Your Partner for Successful Installations
If you’re ready to start your fencing project, partnering with JG Landscaping Company provides expert guidance every step of the way. Located in Minneapolis, MN, we specialize in delivering high-quality installations tailored to your specific needs. Contact us at (763) 272-8844 to discuss how we can help bring your vision to life with precision and care.